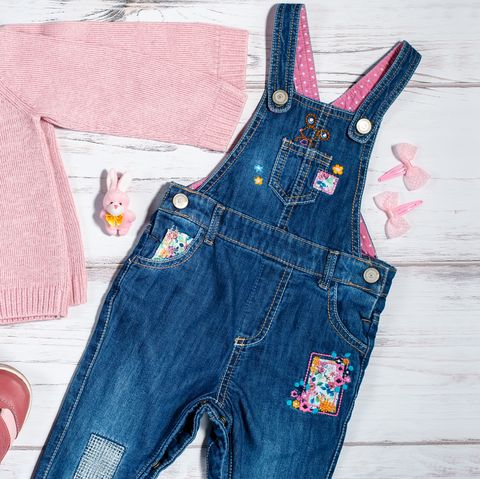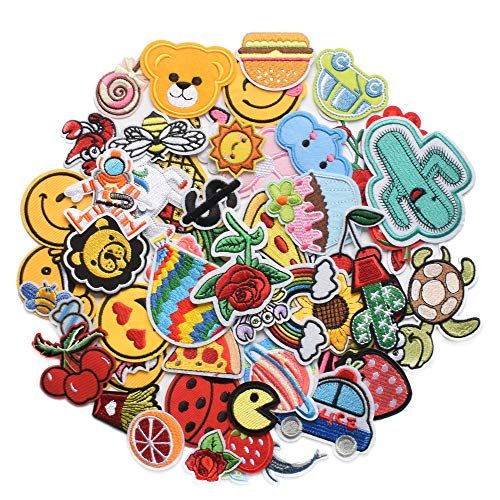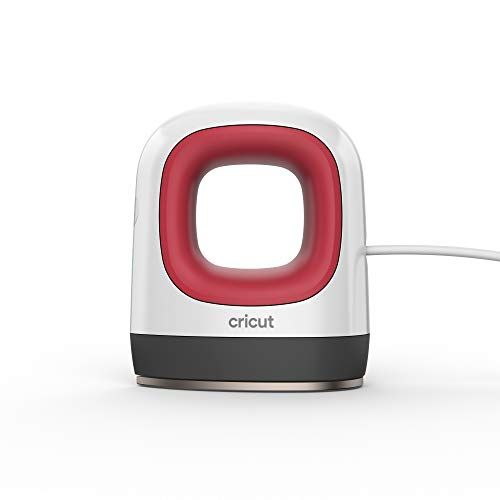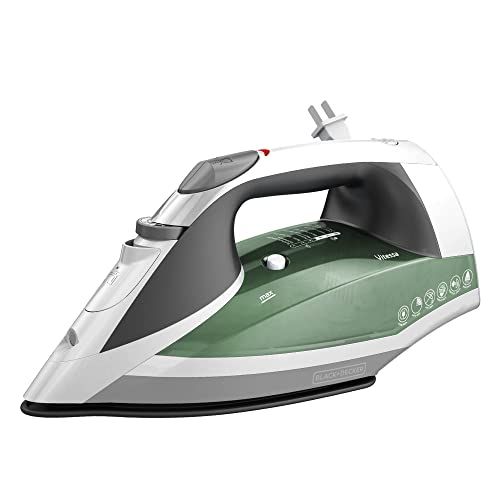
You may not think to use them often, but patches can provide a quick way to upgrade clothing items like a jacket, jeans or hat. Plus, they can be a fun way to add flair to something more utilitarian, like a child’s backpack or a work uniform. And what’s great is, you don’t need to be well versed in sewing to get the job done thanks to iron-on patches, which are easy to work with.
When purchasing, patches are labeled as either sew-on or iron on, explains fashion designer Maddie Iverson of O’Field Apparel. But if you’ve misplaced the packaging, the most obvious way to tell which method is needed to install a patch is to look at the back of it. “If there is an adhesive, sticky, tacky or filmy layer on the back, then the patch is likely an iron on patch. If a patch back is clear of any additional layers, and it has a felt or fabric back, or you can see the embroidery clearly, then the patch needs to be sewed,” says Iverson.
If you’re working with the former, below, we’re breaking down an easy way to iron-on patches.
More From Good Housekeeping
But first, what kind of material do iron-on patches adhere to?
You can iron patches onto a wide range of fabrics, including polyester, denim and more, but natural materials like cotton provide the best blank canvas. Keep in mind: Some materials, like leather or heat-sensitive synthetics, are prone to scorching and heat damage, so it’s best to choose sew-on patches for any items with this type of more delicate construction.
How to iron on patches:
Ready to get started? Here’s a quick step-by-step:
- Prep. First make sure that the backing of the patch is clear of any debris such as hairs, fuzz, lint or dirt. Next, you need to know what kind of fabric you are ironing the patch onto.
- Choose the right temperature. If you’re putting a patch on apparel — jeans or a shirt, for example — follow the iron setting mentioned on the care tag. If there is no care tag, it’s better to be safe than sorry, so use a lower heat, but keep the iron on the patch long enough for the adhesive back to melt and fuse with the fabric. We also recommend covering the patch with a piece of fabric or parchment paper before ironing so you don’t burn it.
- Iron on. Depending on the size of the patch, try to use just the tip of the iron while adding on the patch. Start from the middle of the patch to act as an anchor and move out from there. Keep in mind that the adhesive backing on an iron-on patch needs to fully melt to then bond onto the fabric.
- Let it rest. Once you are sure that the adhesive has bonded, take the iron off of the patch, and let your fabric and patch rest and cool down a bit. After about 5 to 10 minutes, you can lift the fabric vertically and see if there are any spots where the patch hasn’t fully fused. If necessary, repeat the process until the patch is fully bonded.
What’s the best iron temperature to use to iron-on patches?
In general, delicate fibers, like polyester, use lower heat and heavier duty and more durable fibers like wool, cotton and linen can withstand a higher heat, says Iverson. Denim jeans and jackets, as well as most backpacks, can also tolerate higher heat. Most irons have fiber settings that are safe to follow when selecting the best temperature to iron on a patch.
No matter what level of heat you’re using, never use the steam setting to iron on patches—the water prevents proper bonding. Always use a dry iron to adhere patches.
Why isn’t my iron-on patch sticking?
If your iron-on patch isn’t working, your iron probably isn’t hot enough, says Iverson. “Be sure to give your iron a few minutes to fully warm up to your selected setting before using it.” And if you’re attaching the patch onto a delicate fabric, slowly ramp up the iron’s heat and make sure to only use the tip of the iron and let it sit on the patch long enough for the heat to reach the adhesive, so it melts and bonds. Proceed carefully on delicate fabrics to keep from melting or damaging them.
Pro-tip: If you notice the adhesive doesn’t hold up over time and your patch starts to peel around the edges, you can reattach by using fabric glue or hand sewing just the portion that is peeling.
Can you iron on patches with a hair straightener?
“As long as the heat is hot enough to melt the adhesive onto another garment or fabric, any kind of iron will work,” says Iverson. However, there are a few things you need to keep in mind if you’re going to use a straightener notes Lexie Sachs, executive director of the Textiles, Paper & Apparel Lab in the Good Housekeeping Institute:
- It may be difficult to maneuver/reach certain parts of the garment.
- A used hair iron has lots of oils and product on it. So if your iron is not clean, it could soil both the patch and/or your garment.
- You have to be careful to heat just the patch, not the fabric itself.
Brigitt is a writer, editor and craft stylist with nearly 15 years of experience. She specializes in creating SEO and e-commerce content across a range of lifestyle topics, including home, health, parenting, beauty, style, food, entertaining, travel and weddings. She also has significant experience creating native and branded content.
This content is imported from OpenWeb. You may be able to find the same content in another format, or you may be able to find more information, at their web site.
Xhicboutique.com – Find this Product & More at Super Prices!
Source link


